3.4 KiB
CloudFormation Template For Artifactory Enterprise
Steps to Deploy Artifactory Enterprise using CloudFormation template
-
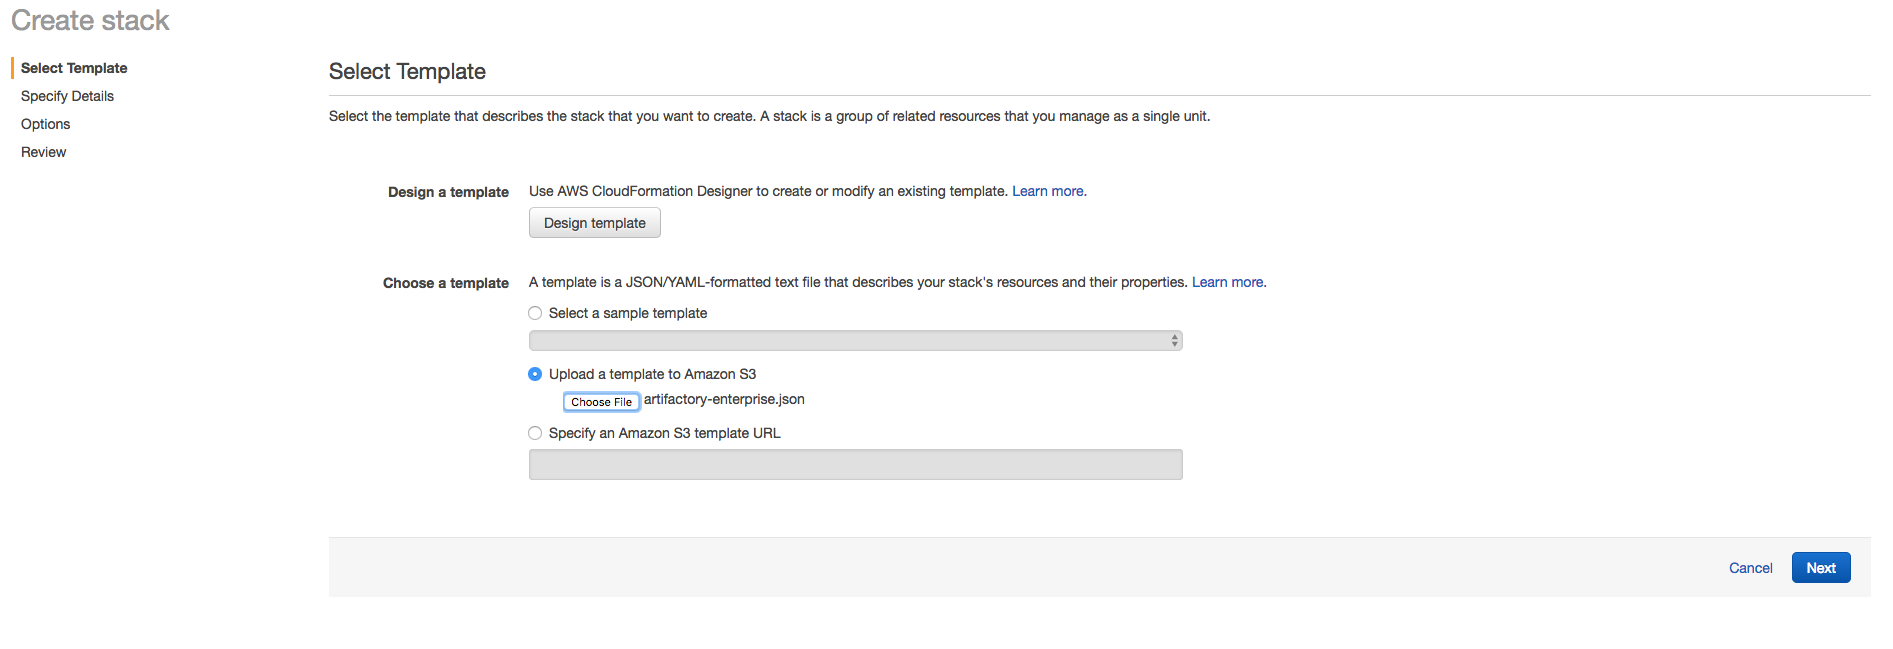
Go to AWS Console and Select CloudFormation. Then click on Create Stack. You will see following window.

-
Upload Artifactory-enterprise.json (Artifactory Enterprise template) and click next.
-
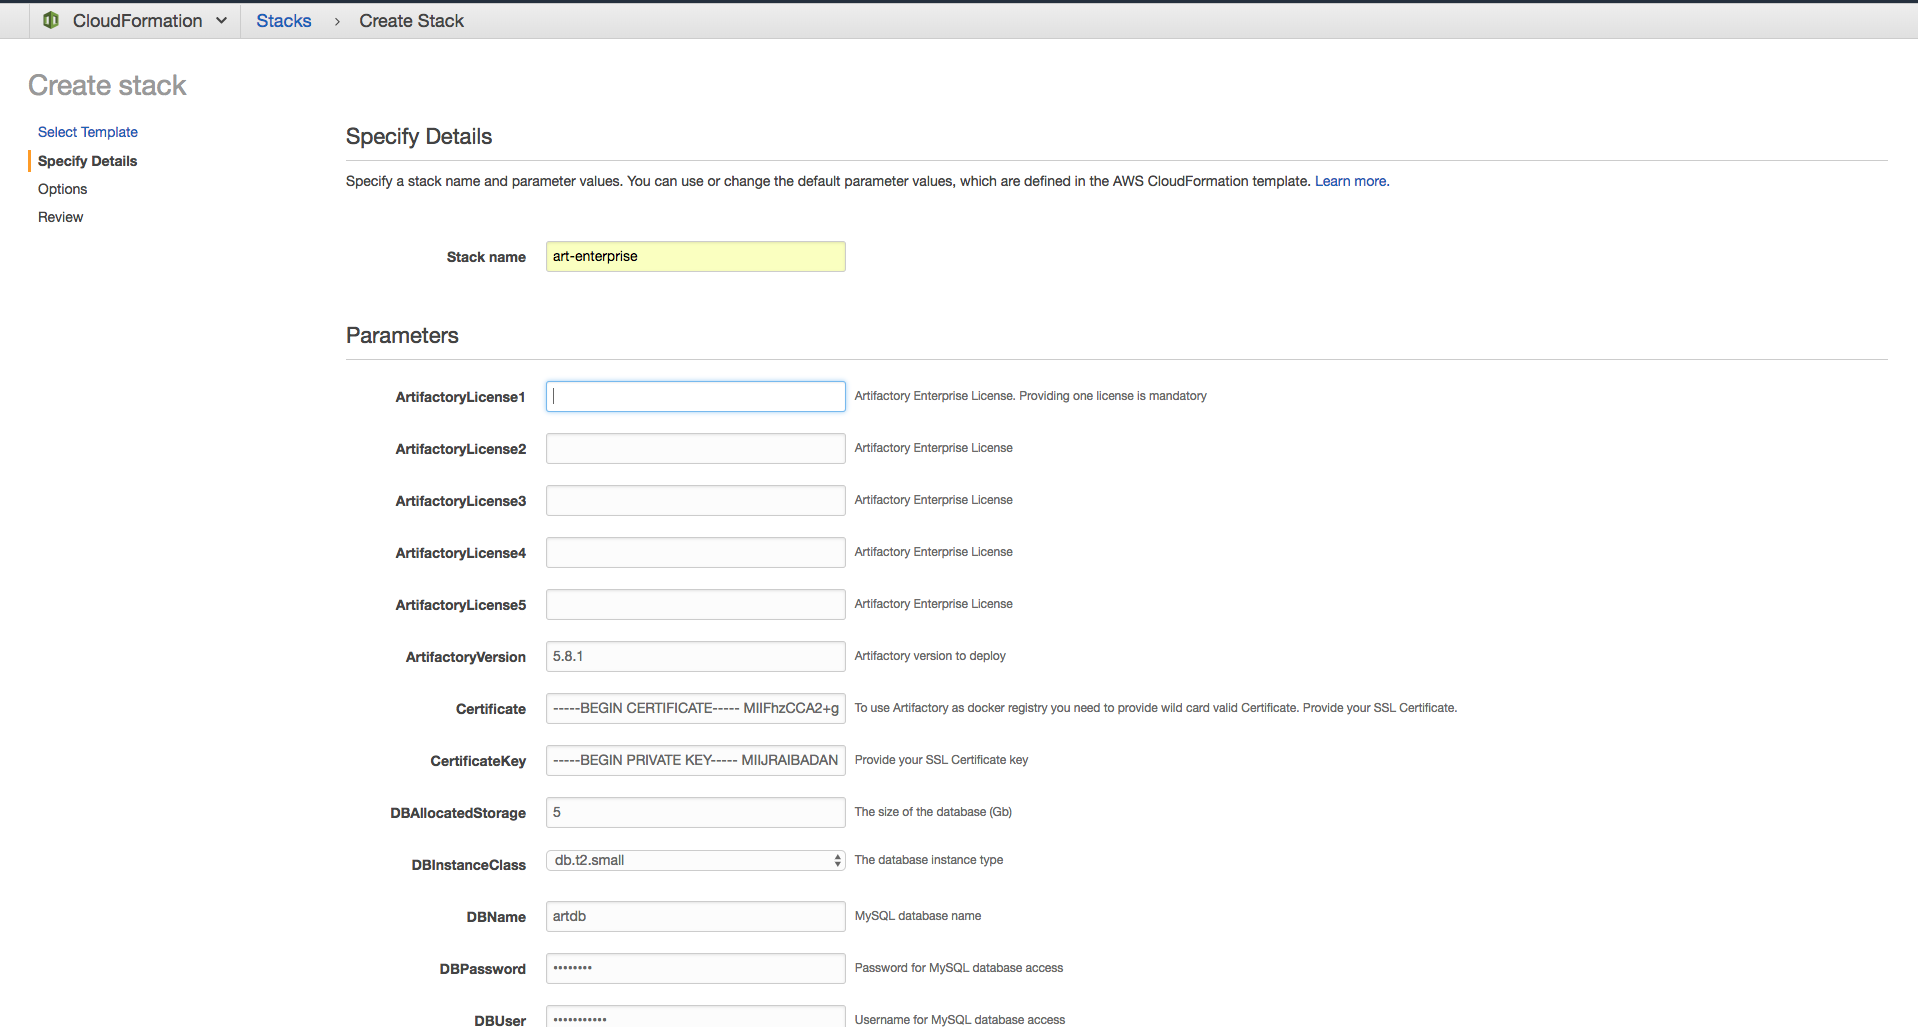
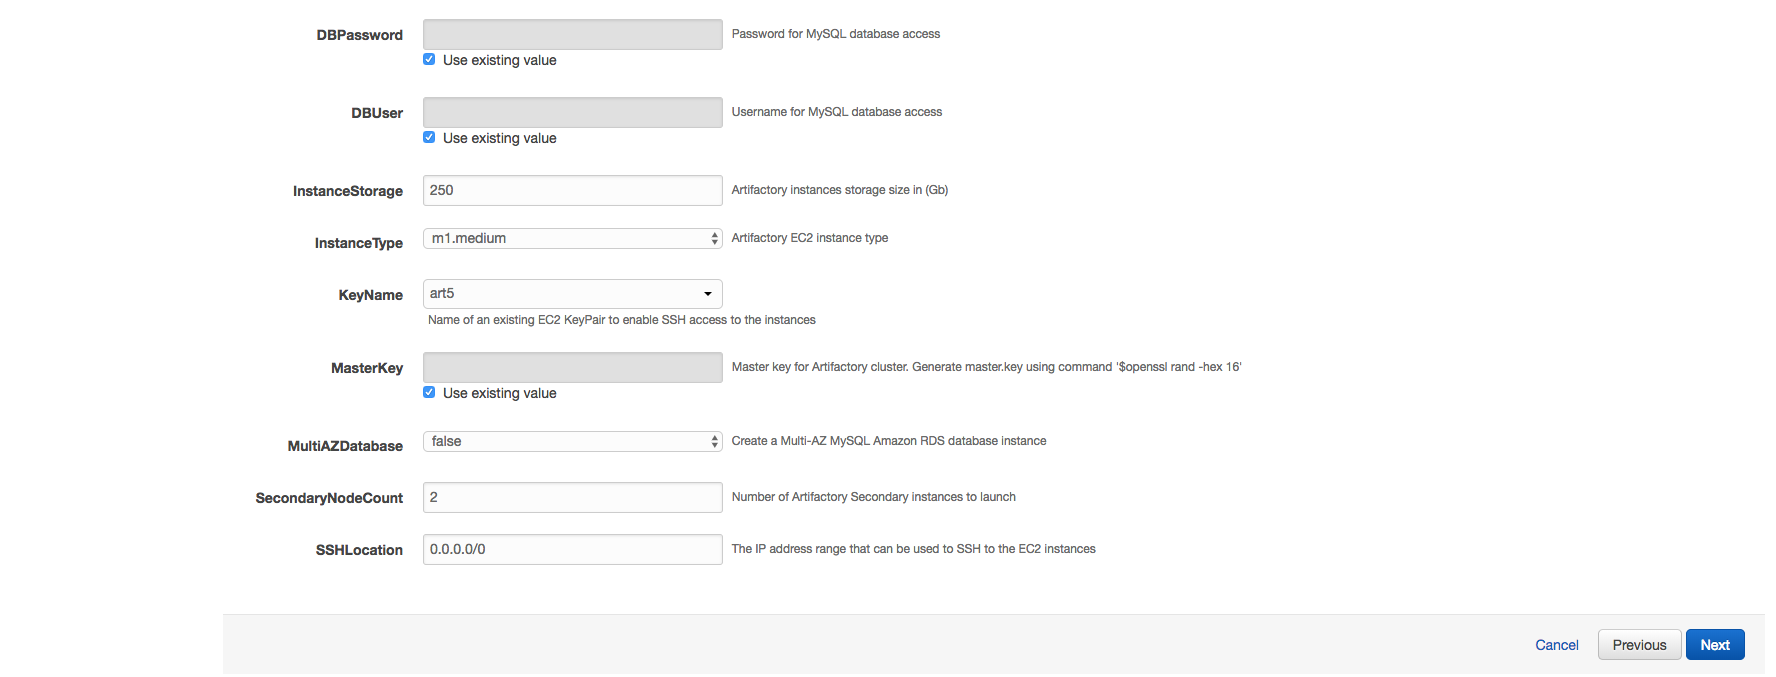
Provide required information like stack name, DBAllocatedStorage, DBInstanceClass, DBName, DBPassword, DBUser, InstanceType, InstanceStorage, MasterKey, ArtifactoryVersion, KeyName, ArtifactoryLicense1-5, MultiAZDatabase, SSHLocation, Certificate, CertificateKey, SecondaryNodeCount, ExtraJavaOptions. Then click next.
-
Mark on checkbox to allow CloudFormation to create IAM user for Artifactory to access S3 bucket.
-
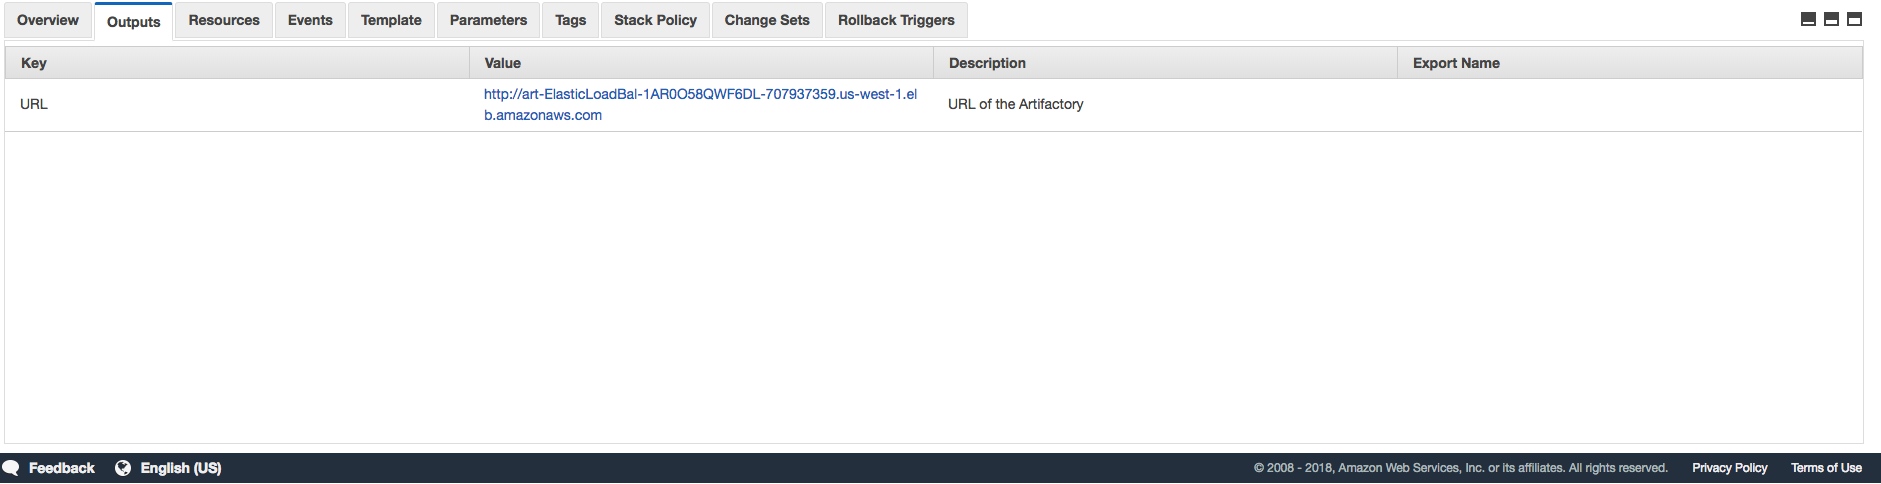
Once Stack in deployed you will see Artifactory Load Balancer URL in output as showed in screenshot.
-
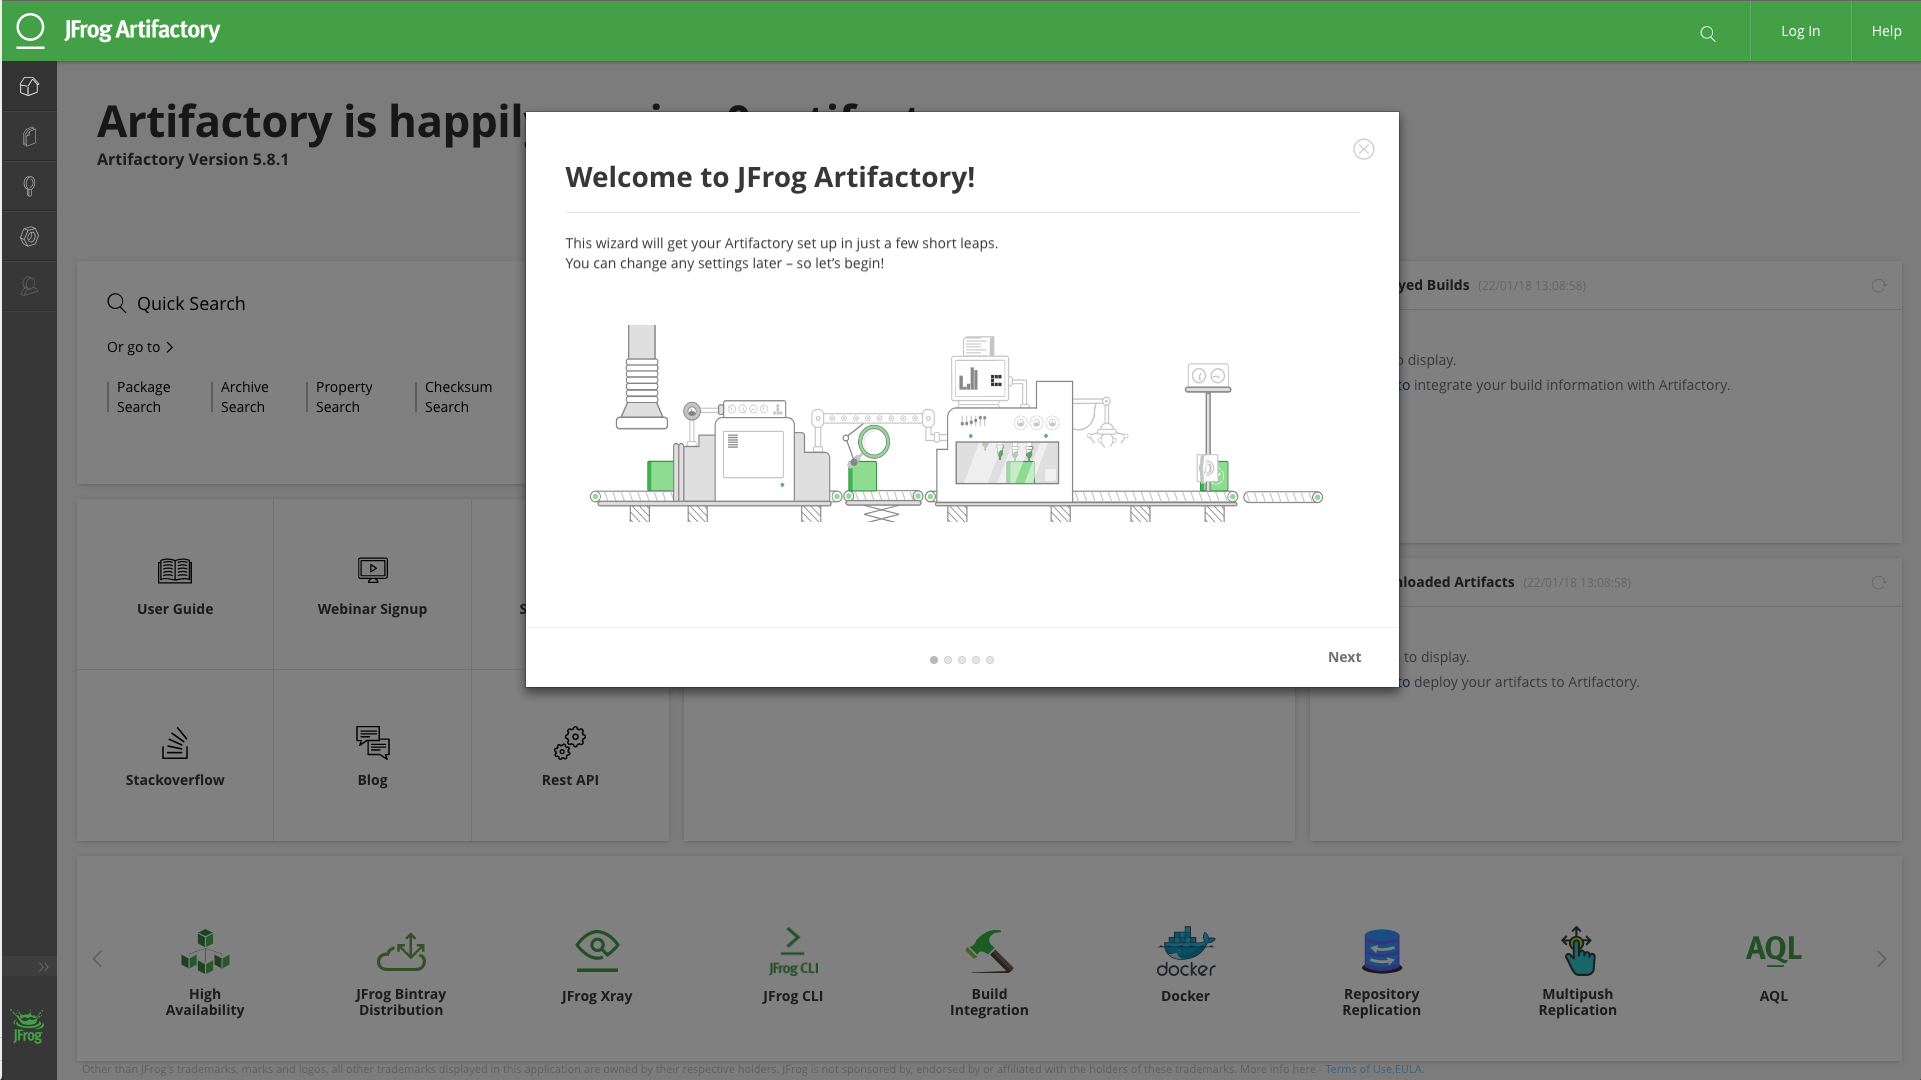
Open Artifactory URL and you will be able to see Artifactory UI.
-
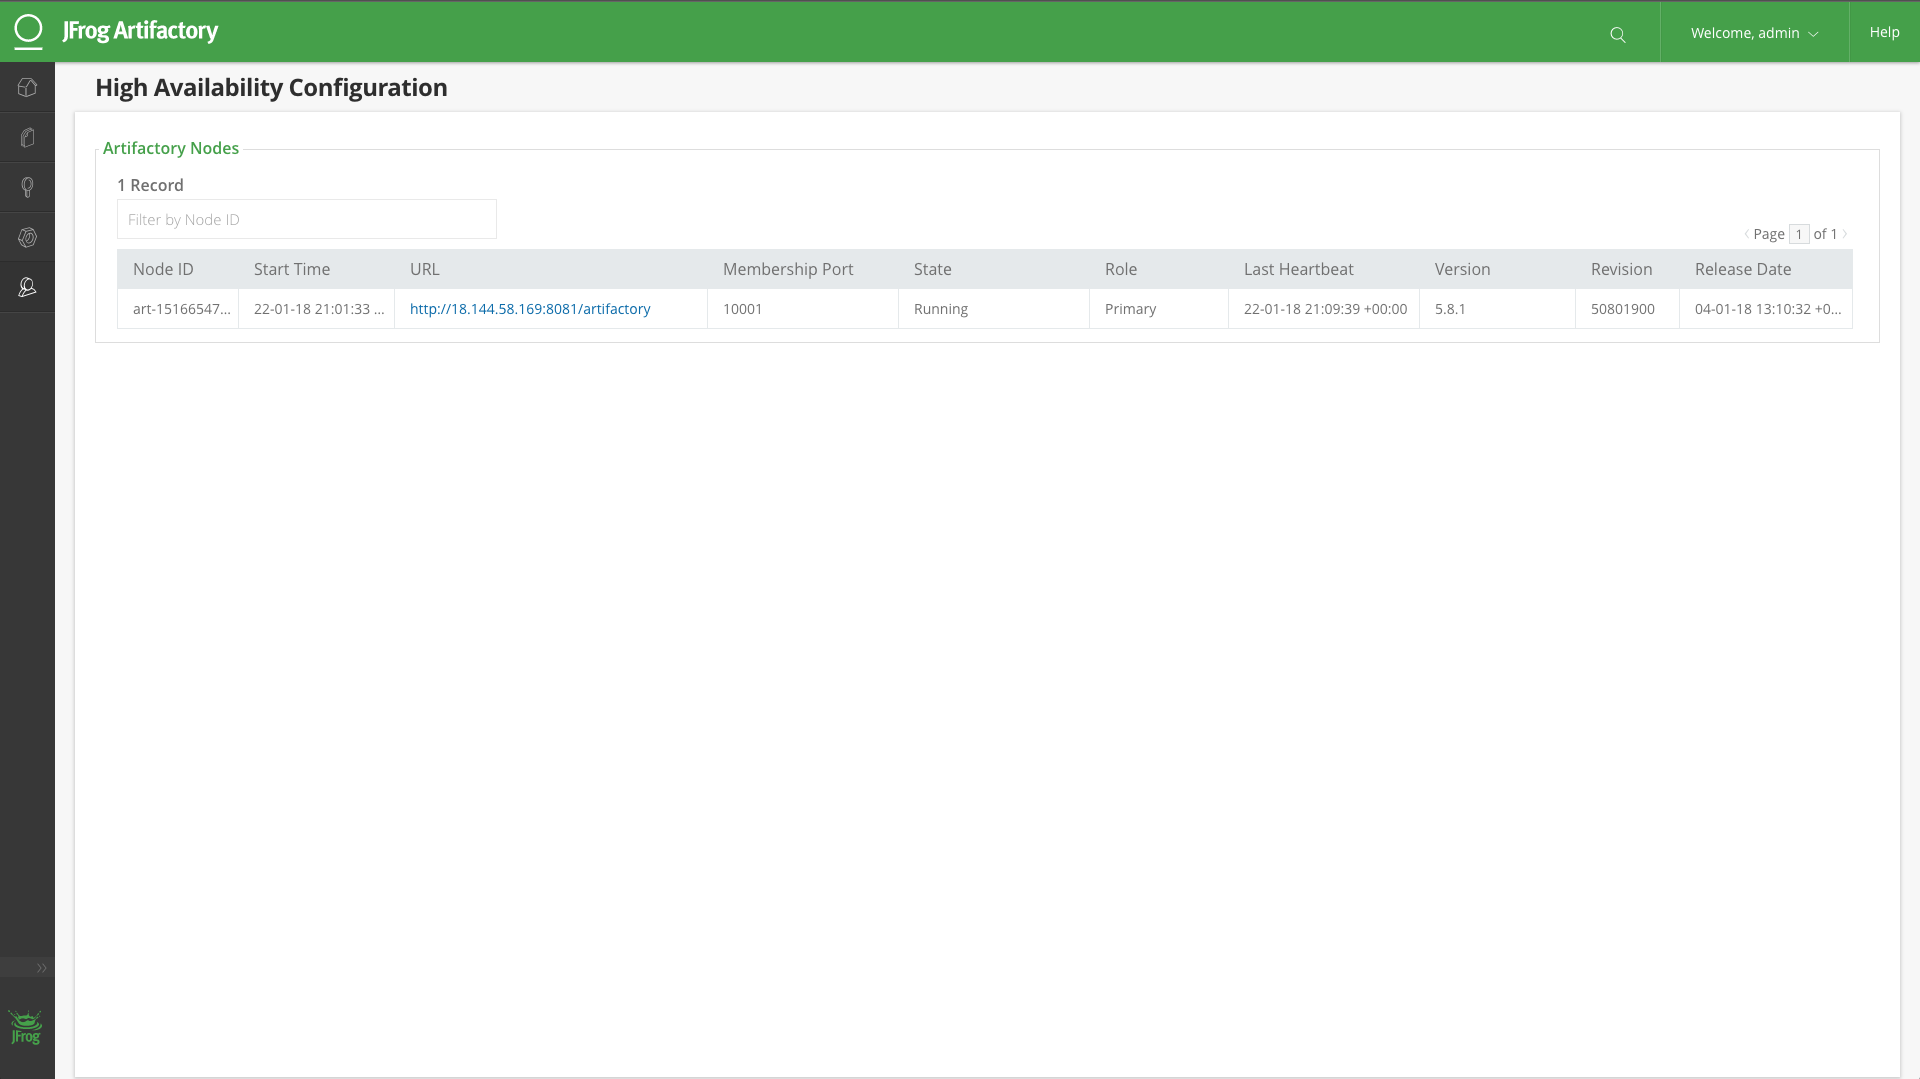
Let's make sure that Artifactory is running in High Availability mode. Go to Admin -> High Availability in Artifactory UI to see this table.
-
Now let's add 2 more nodes to Artifactory Enterprise cluster. Go to CloudFormation UI in AWS console and select newly deployed Artifactory Enterprise Stack. Click on Action -> Update Stack.

-
Increase SecondaryNodeCount from 0 to 2. Then update the Stack.
-
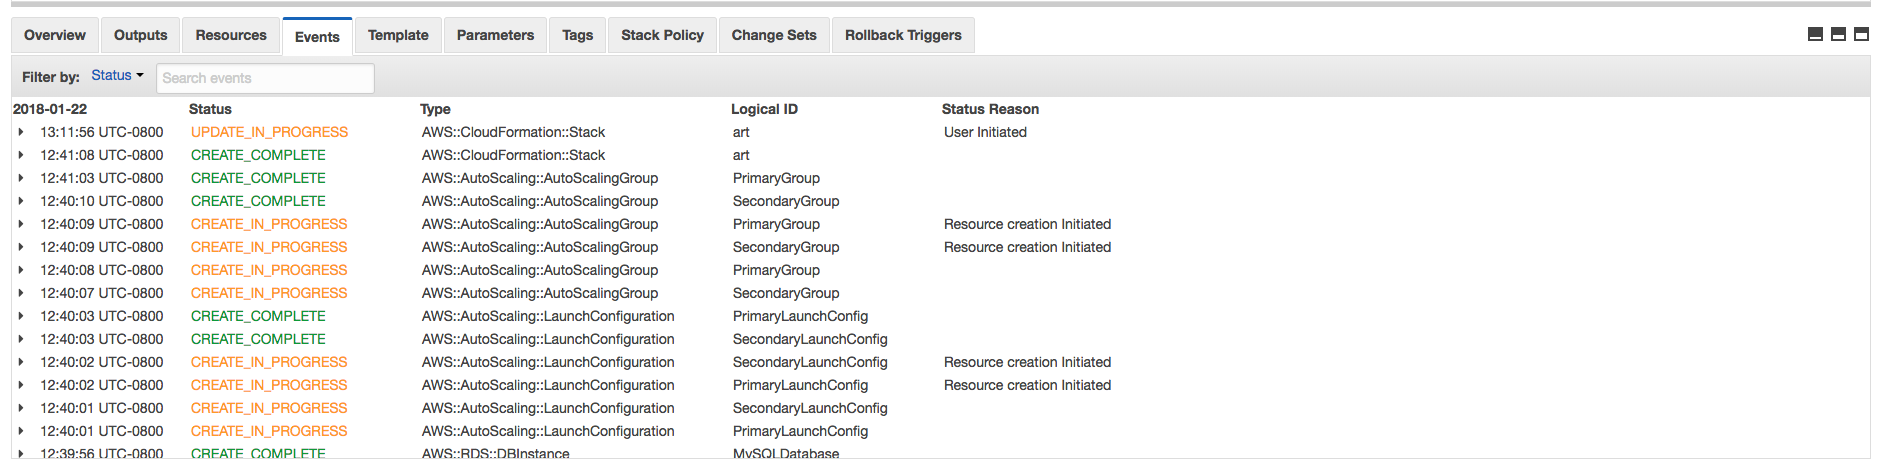
It will take few minutes to update stack.
-
Once Stack is updated.

-
You will be able to see 3 nodes in High Availability table in Artifactory UI as part of Enterprise cluster.


Note:
- This template only supports Artifactory version 5.8.x and above.
- Turn off daily backups. Read Documentation provided here
- Use SSL Certificate with valid wild card to you artifactory as docker registry with subdomain method.
Steps to setup Artifactory as secure docker registry
considering you have SSL certificate for *.jfrog.team
- Pass your SSL Certificate in parameter
Certificateas string - Pass your SSL Certificate Key in parameter
CertificateKeyas string - Set
CertificateDomainasjfrog.team - Set
ArtifactoryServerNameasartifactoryif you want to access artifactory withhttps://artifactory.jfrog.team - Create DNS for example Rout53 with entry
artifactory.jfrog.teampointing to ELB value provided as output in CloudFormation Stack. - Create DNS for example Route53 with entry
*.jfrog.teampointing to ELB value provided as output in CloudFormation Stack. - If you have virtual docker registry with name
docker-virtualin artifactory. You can access it viadocker-virtual.jfrog.teame.gdocker pull docker-virtual.jfrog.team/nginx
Steps to upgrade Artifactory Version
-
Go to AWS Console and Select CloudFormation Artifactory Stack you want to upgrade. Then click on Update Stack.
-
Change Artifactory version in parameters from old version to version you want to deploy.
for e.g. 5.8.1 to 5.8.2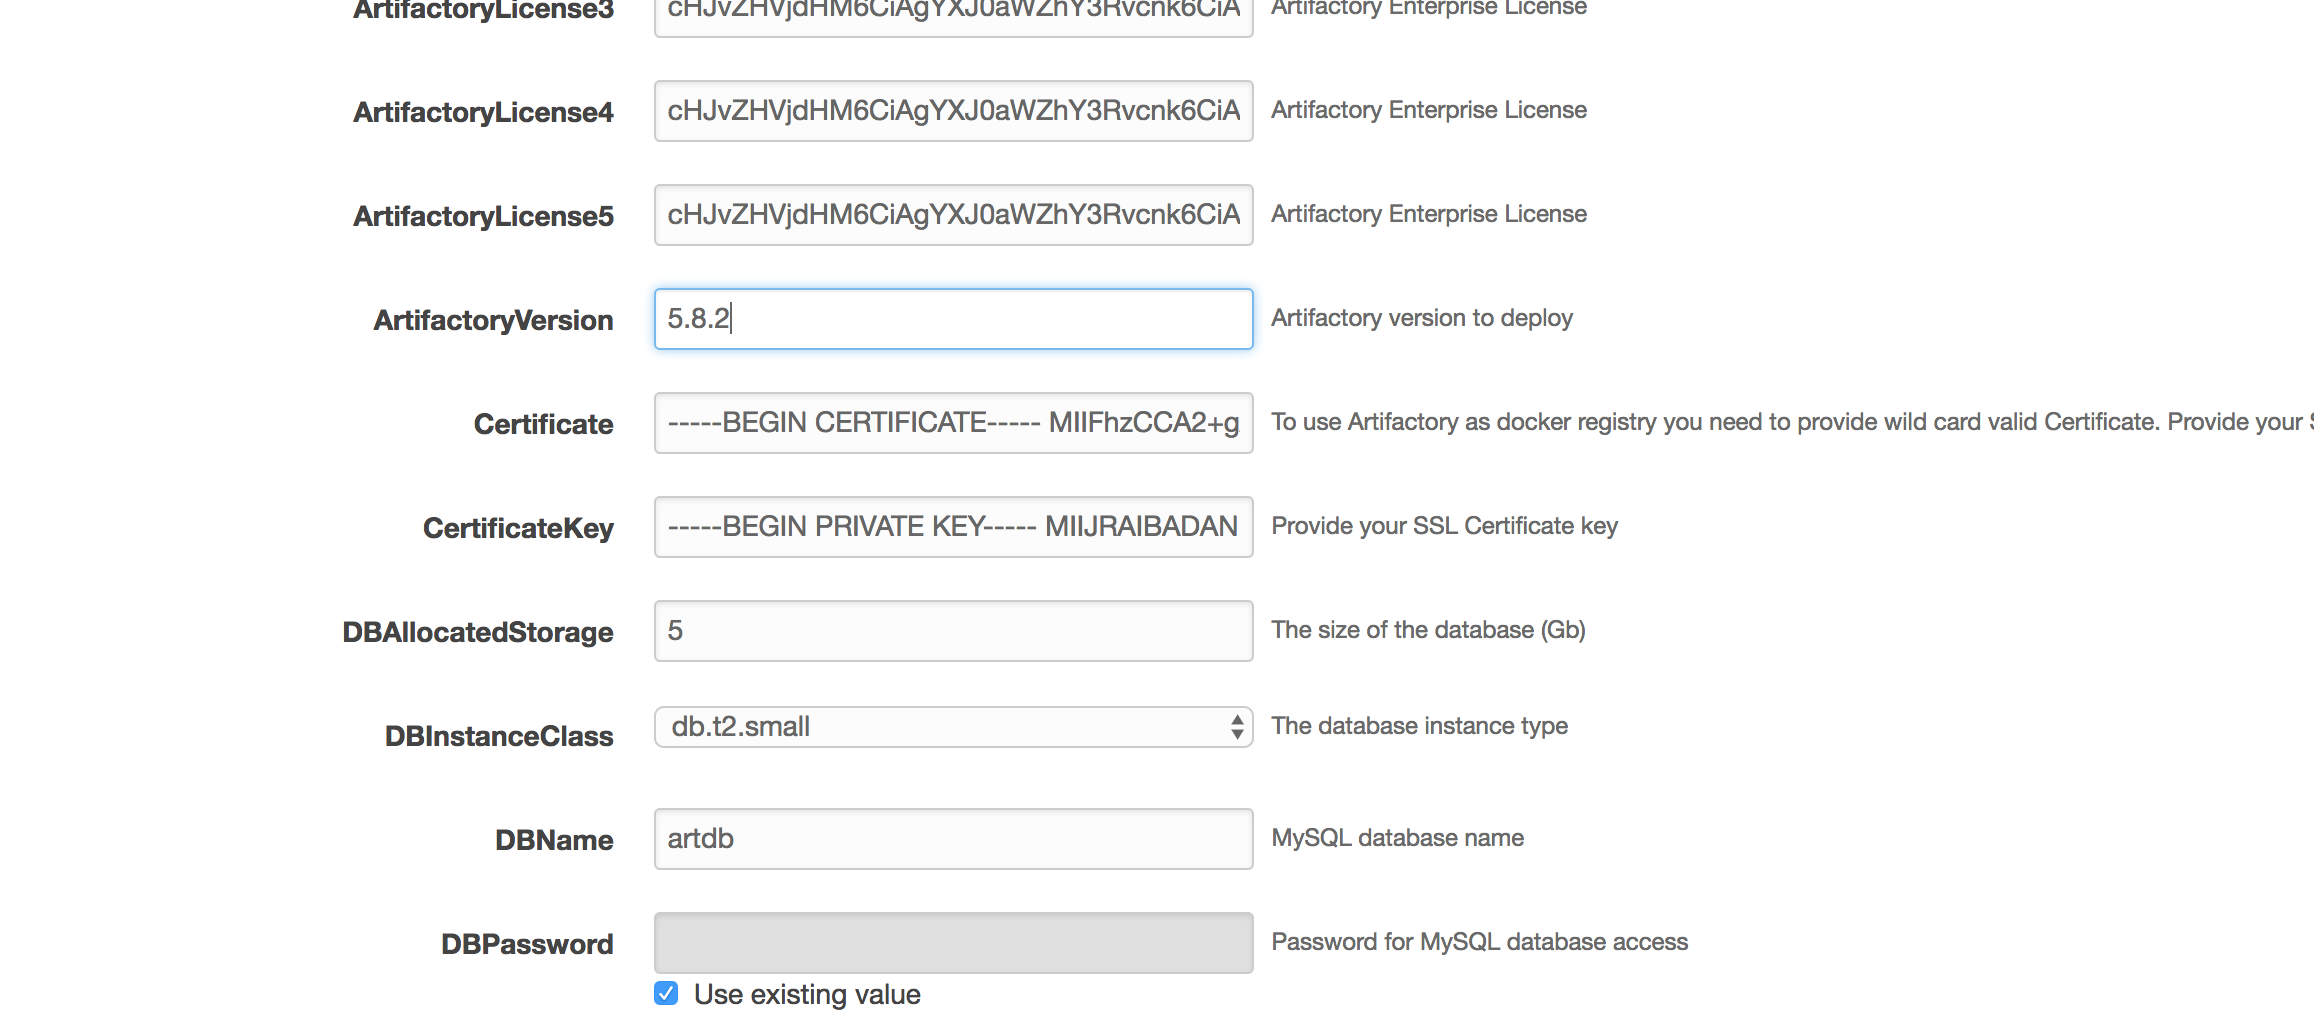
-
You will see instances will get upgraded one by one. Depending on your cluster size it will take 20-30 minutes to update stack.

